
Shopify engraving upcharge: personalize without extra variants
A Shopify engraving upcharge is a pricing problem dressed up as a catalog problem. Customers want a name, initials, or a short line on a flask, ring, knife, or cutting board. You want that copy on the order *and* an extra $8–$25 for laser time, setup, and mistakes. Native Shopify is happy to store the string on the line item. It will not change the product price because someone typed “For Emma.”
Merchants keep asking for the same three pieces: a text box, a clear fee, and a total that updates before add to cart. See Looking for the best way to offer engraving options with custom pricing and App that adds personalization to product for a fee. This article explains why another variant is the wrong tool, and how Options Price Calculator puts a text field, a checkbox, and a formula on the product page without new SKUs.
Engraving is not a variant — even after 2048
Shopify Help Adding variants still caps each product at three options and 2048 variants. The variant ceiling moved from 100 to 2048 in October 2025 (changelog). That helps if you actually stock 40 waist sizes × 12 lengths. It does nothing for unique engraving copy.
“For Emma, May 12” is not inventory. A Yes/No “Add engraving” variant burns one of your three option slots and still leaves nowhere for the free-text line. During the 2048 rollout, merchants pointed out that monograms still belong in line item properties — extra variants do not replace that (2k variants now generally available).
Workarounds that capture the text but miss the fee
Theme line item properties
A Liquid input named `properties[Engraving]` is a one-file change. Shopify stores the string, fulfillment can read it, and your catalog stays clean. The catch is absolute: the price does not change. We covered that mechanic in Shopify line item properties do not change the price. Without an app or a Shopify Function, a 30-character inscription costs the same as a blank bottle.
A “with engraving” variant
SKU A at $29.95, SKU B at $41.95. Inventory on B is fiction — it is the same bottle. You still need a text field, and you have spent an option slot. Customers also mix up which variant they picked versus what they typed.
Quote after checkout
Some shops take the order, then email a surcharge. That protects the workshop and kills conversion. Shoppers expect the product page to show what personalization costs.
Text field + checkbox + formula, no extra SKUs
Options Price Calculator is Built for Shopify. You add unlimited product options and a live formula without creating extra variants. For engraving you usually need two fields, not a catalog rewrite.
Use a checkbox with key `engraving` and numeric value `12` (or whatever an extra laser pass costs). Unchecked contributes `0` to the formula; checked contributes the fee. It is the same pattern as gift wrap in the pricing formula examples:
``` product_price + engraving ```
Add a text field `engraving_text` for the name or message. The Text Field docs document two pricing modes you can actually use:
Flat fee once anything is typed: set the field’s numeric value to `12`. Empty = `0`, any text = `12`. You can skip the checkbox.
Per-character pricing: drop Number of characters for that field from the Form fields picker into the formula and multiply by your rate.
A useful middle path: checkbox for “Yes, engrave this” (the money) plus a required text field. Making the text field required is a field setting. Showing it only after the box is checked is conditional logic (Premium). On Starter, show both fields and let the checkbox drive the price.
If you charge setup plus a per-character rate, drop Number of characters from the Form fields picker into the formula builder:
``` product_price + 8 + (<Number of characters> * 0.35) ```
A computed property such as “Engraving total” keeps the main formula readable.
Need a customer logo on a pet bowl or board? Add a file upload. Its numeric value joins the formula; no file is `0`.
Example: three in-stock colors, one engraving service
A stainless bottle in black, sand, and navy. Those three colors are real variants — Shopify is built for that. Engraving is the same job on every color.
Leave Color as a native variant.
In OPC, add a checkbox “Engraving (+ $12)” and a text field “Text (max 24 characters).”
Formula: `product_price + engraving`.
Link the calculator to all three variants (bulk linking if the catalog is larger).
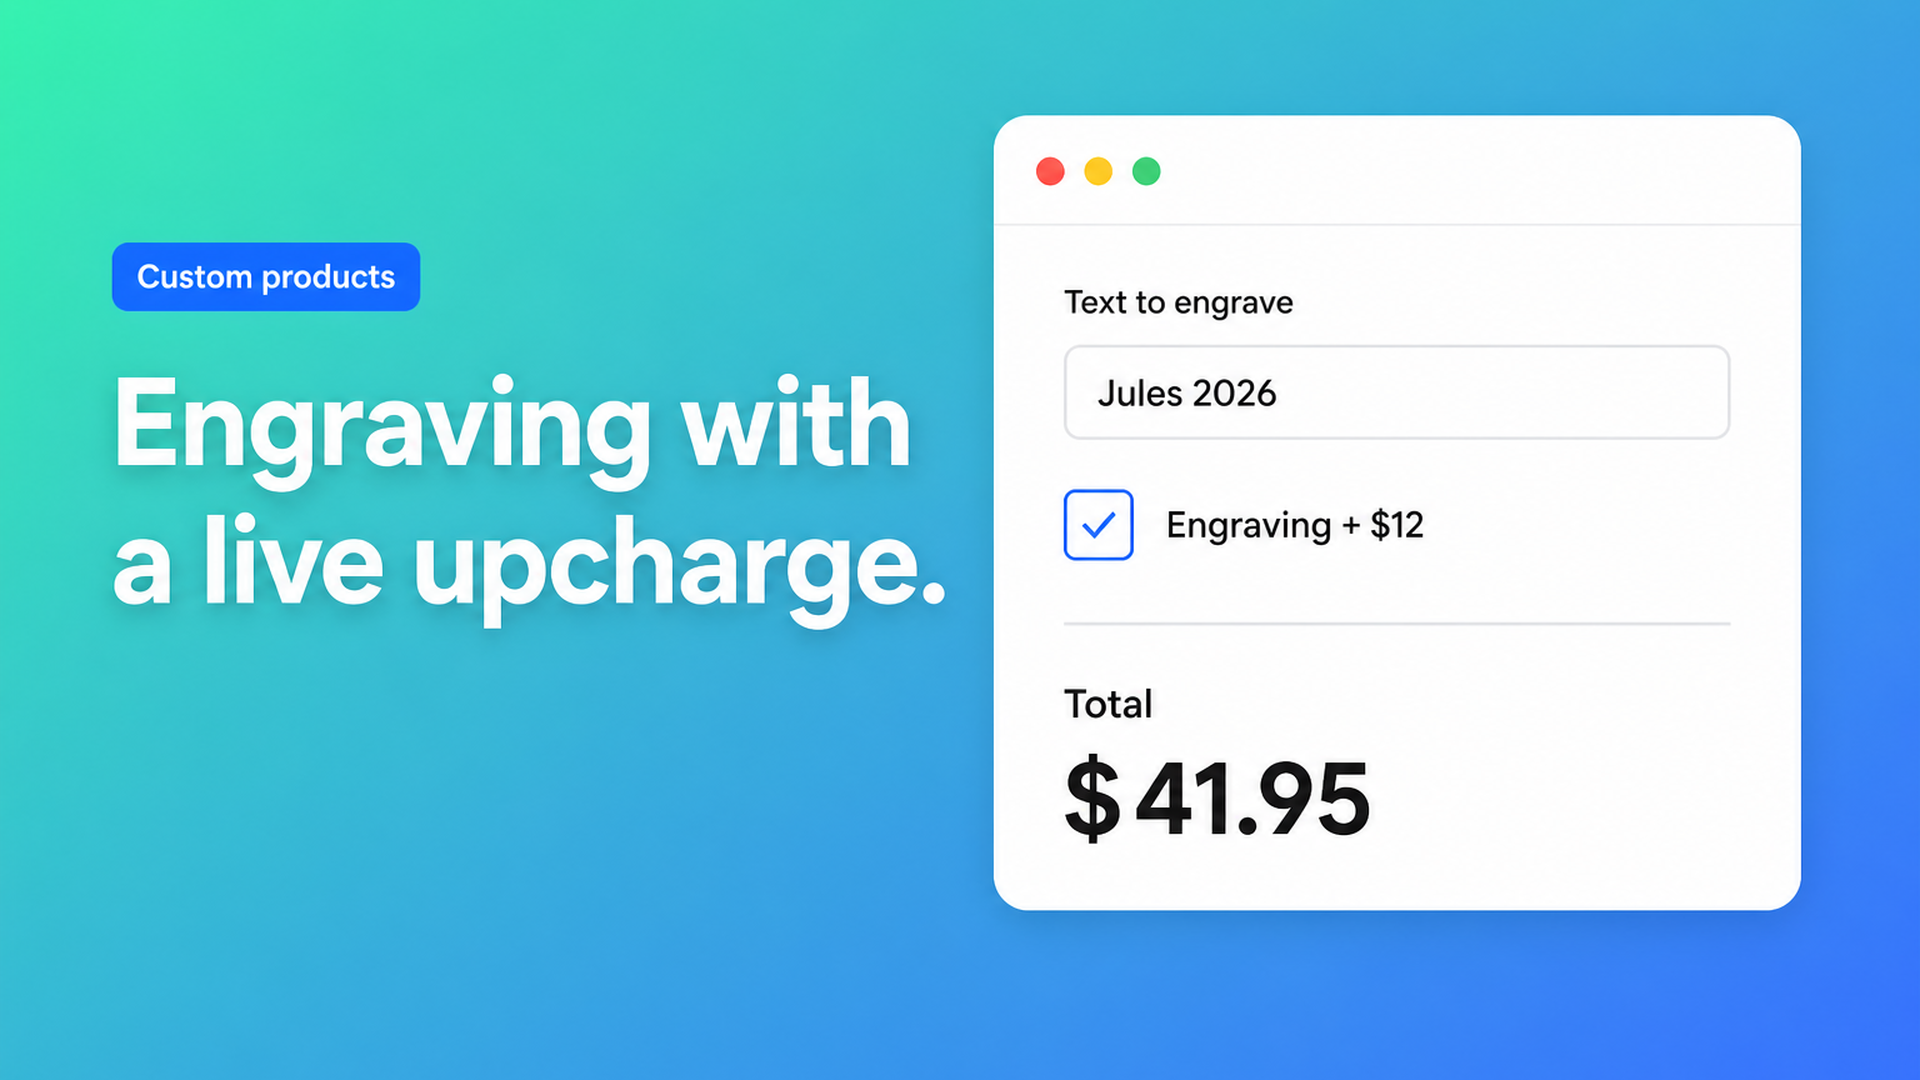
The shopper picks black, checks engraving, types “Jules 2026.” The page total moves from $29.95 to $41.95. The order carries color, copy, and the fee. Fulfillment sees the same line checkout did; you can optionally add that product data to the order confirmation email.
Jewelry follows the same pattern, with shorter copy (initials) and usually a higher fee.
Fonts, live preview, and thresholds: Premium only
Do not sell the first calculator as a full personalizer. Label the extras:
Font picker (Premium) is one composite field: typeface, engraving text, optional color. Each control can carry its own numeric value, plus a Number of characters helper. See the Font Picker docs. Charge licensed fonts more than the default set.
Live preview / Product Personalizer (Premium) overlays the typed text on the product image. It is a listing feature on the Premium plan, not Starter.
Conditional pricing (Premium) for thresholds: a higher rate past N characters, or +$20 when `premium_finish == TRUE`. See Conditional Pricing.
Real-time price breakdown (Premium) if you want the upcharge as its own line under the total.
Starter is $9.99/mo: unlimited options, formula builder, metafields, styling, multilingual labels. Free is 20 uses (always free on a Shopify develop plan). Conditional logic, font picker, and live preview sit on Premium at $14.99/mo.
What you need to go live
Install Options Price Calculator from the Shopify App Store.
Add the app block on the product template, ideally below the price and above Add to cart — How to Add the Extension to the Product Page.
Create the checkbox and/or text field. Keep stocked colors as Shopify variants.
Build the formula, test with preview values, link the calculator to the right variants.
Turn on server-side price validation in app-wide settings so the fee is not only a storefront display.
Themes differ, which is why the selector picker (price + add to cart) exists. Plan one binding pass.
Wrap-up
A Shopify engraving upcharge belongs next to your variants, not inside them. Three options and 2048 variants remain the native limits; free text is not a SKU. A text field, a checkbox, and `product_price + engraving` put the service on the product page without fake SKUs or follow-up quotes.
Install Options Price Calculator and let customers see the inscription and the fee before they hit add to cart.

The Shopify Select partner for ambitious e-commerce businesses that want to grow!


Services
Reviews
5/5
Mail: info@onlineorigins.nl
Tel: 073 234 0612
KVK: 89825624
BTW: NL865123639B01
Bruistensingel 500,5232 AH 's-Hertogenbosch Cookies
© 2026 Online Origins